The first thing you need to do is create a Photo Gallery page. The next thing you need to do is add pictures - these can be pictures you've already previously uploaded or ones you upload while you're creating the gallery.
1. Add a Photo Gallery page to your site. If you're not familiar with adding pages yet, see How do I add a page?
2. The next thing you should probably do is upload some photos (if you haven't already done this). If you're not sure how to do this, see How do I upload files to my site?
Once you've got a Photo Gallery page and you've uploaded some photos, you're ready to combine it all in a photo gallery.
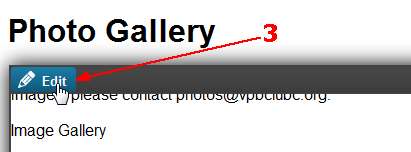
3. Locate your new Photo Gallery page and make sure you are in Edit mode. The Edit button will be blue and you will see blue dotted lines around the page content areas. Click Edit to edit the page content area.

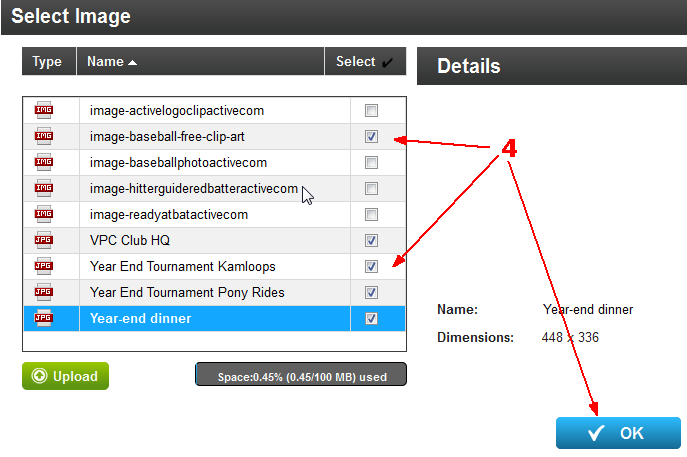
4. Click the +Add Images button to select images from the list of files uploaded to your site already (you can upload new ones while you're at). Select all the files you want to include in the photo gallery by checking the checkbox beside each file! Click OK.

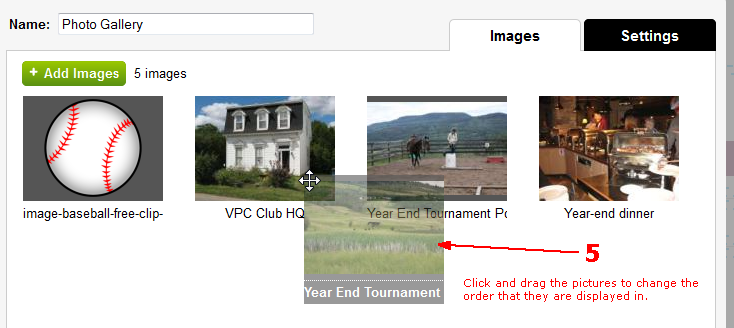
5. The files you selected are displayed on the Images tab and you can click and drag them into a different order.

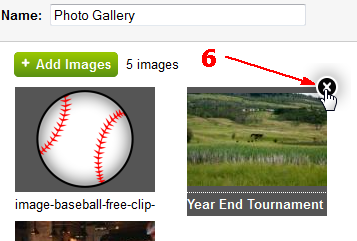
6. If you wish to remove a picture just mouse over the picture and click the black X in the upper right corner. This will remove the picture from your gallery only. It will still be available for use on the Files tab of the Site feature.

7. Go to the Settings tab to make changes to how the photo gallery is displayed for visitors to your site! You can control how the images are displayed (in a Slideshow or as smaller "thumbnails"), what information about the image is displayed, and you can add an introduction to describe your gallery and how it works!
8. Don't forget to click Publish when you're done with the Settings!
You can also insert your photo slideshow in widget areas on other pages so users can see your photo gallery from those pages too! See How do I add my photo gallery as a widget?